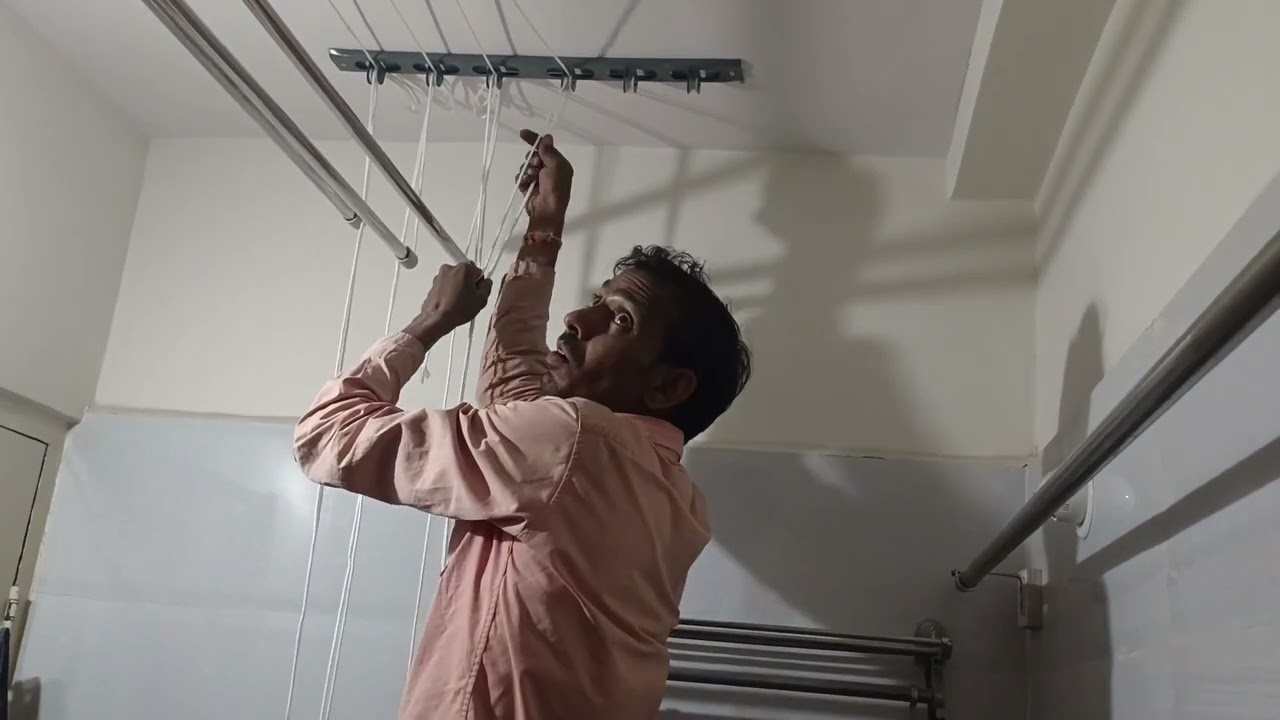
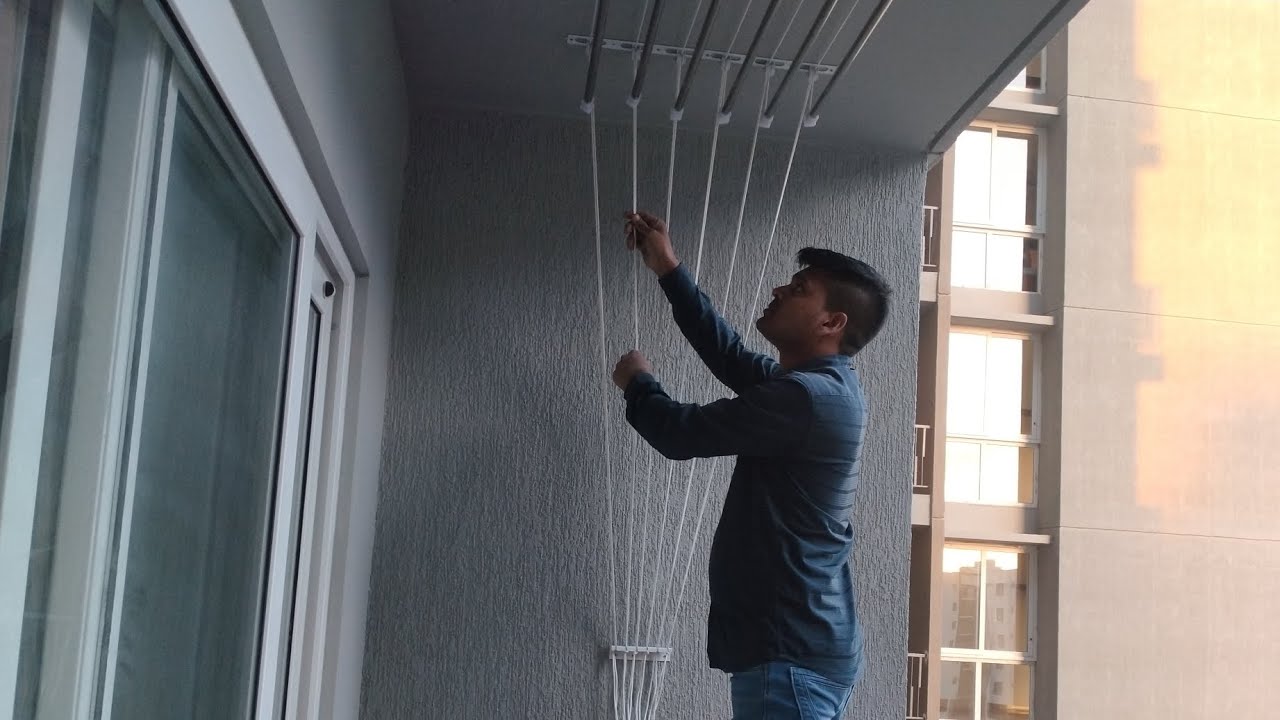
Balcony Cloth Hanger Installation
Cloth hanger installation is a straightforward process that depends on the type and design of the hanger—whether it's wall-mounted, ceiling-mounted, or railing-attached. For wall-mounted models, installation involves drilling holes into a solid wall surface (like concrete or brick), inserting wall plugs, and securing the hanger frame with screws. It's important to ensure the hanger is level and firmly attached to support the weight of wet clothes. Ceiling-mounted hangers, especially pulley-operated ones, require precise alignment and anchoring into ceiling beams or other structural supports for safety and stability. For balcony rail-mounted or foldable hangers, installation is usually simpler and may involve clamping or hooking the unit onto the railing without drilling. These are ideal for renters or those who prefer non-permanent solutions. Regardless of the type, it's essential to follow the manufacturer's instructions and use the right tools and hardware to ensure a secure and long-lasting installation. In some cases, professional installation may be recommended—especially for heavy-duty ceiling or motorized hangers—to guarantee safety and functionality.